Install the Quick Address Software
Install the Library Files
You must install the Quick Address Software prior to configuring it to use with OPERA and prior to setting the library path. The installation instructions explained in this topic pertain to the Quick Address Software Version 3.10 for Windows NT.
Install the Quick Address Software library on either the C: or D: drives of the OPERA Database Server with additional drive space available according to Quick Address Software specifications.
Note: Drives G:, H:, I:, J:, and K: on the OPERA Database Server are reserved exclusively for the installation of OPERA database files and should not be used to install the Quick Address Software.
When the Quick Address Software is installed on the OPERA Database Server, a library is created. The path to this library must be entered in the Set Library Path field in Configuration>Profiles>Quick Address Setup>Set Path Library Path screen. See Configure OPERA for Quick Address Software for more detailed examples.
- Insert the Quick Address Software CD into the OPERA database server CD-ROM drive and make it the active drive.
- Follow the instructions from Quick Address Software for installation. During the installation, the program creates a directory path for the Quick Address files.
- It is important to use the following naming conventions to ensure the successful installation of the Quick Address Software for OPERA: The default destination drive and folder name should be <drive letter>:\qas. The default settings file should be <drive letter>:\qas\qawserver.ini.
- Once the Quick Address Software library installation is complete you are now ready to install the Quick Address Software data.
- Remove the library CD from the CD-ROM drive.
Install the Data Files
Update the Quick Address Software
Data updates are available from Quick Address Software. When you receive a new data CD from Quick Address Software follow the steps below to perform the data update. Contact your regional office or Quick Address Software distributor for more information regarding updates.
Note: Make sure that no users are using the Quick Address Software program to ensure that there is no sharing violation when performing the update. The update should take approximately 10 minutes.
Windows NT Server
- Insert the Quick Address data update CD into the OPERA Database Server CD-ROM drive and make it the active drive.
- Click on the setup.exe file to start the update.
- Point to the default Quick Address Software <letter drive>:\qas\data directory where the original database was installed. The Quick Address Software update CD automatically detects where the data is stored in order to update the data.
- When prompted, choose the Replace Current Data option rather than the Beside Current Data option.
Install QAS Postal Barcode Fonts (AU and NZ only)
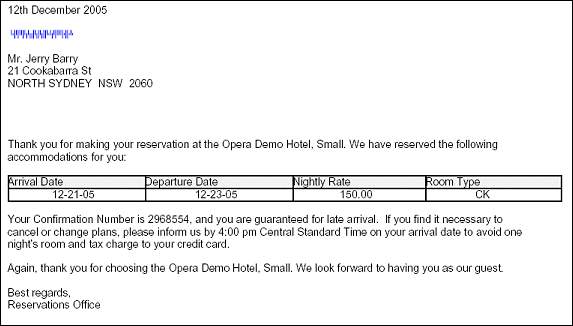
To properly display addresses from New Zealand and Australia (with barcodes) on reports and confirmation letters, fonts must be installed and configured on the OPERA Application Server first.

The preferred font for printing Australian addresses is the 'QUICASB_.TTF', which is specifically designed for this purpose and is included on the installation CD.
- Install the font QUICASB_.TTF on the Application Server. In Windows, go to Settings>Control Panel>Fonts>Install New Font.
- Copy the QUICASB_.TTF into the location pointed to by the REPORT_PATH environment variable. This can be achieved by copying the QUICASB_.TTF into the RUNTIMES folder (defined by the OPERARUNTIMES variable). Or, you can modify the REPORT_PATH variable in the reports server configuration file to include the system folder containing fonts (typically, this is either c:\winnt\fonts, or c:\windows\fonts).
- Next, open the file uifont.ali on the application server and change the section for [ PDF Subset ] to 'QUICASB_.TTF' as in the example below:
[ PDF ]
. . . . . . . .
[ PDF:Subset ]
"QuickAddress 4State Barcode" = "QUICASB_.TTF"
|
Reports that utilize this font are:
SAMPLE_STATEMENT.RDF
SAMPLE_REMINDER.RDF
SAMPLE_FOLIO.RDF
SAMPLE_GUEST_CONFIRMATION.RDF

