Export/Import for OXI
Go into Utilities > Export/Import. The purpose of this utility is to export and import a full set of configuration data from one interface to another. This can be done on global interface and property-specific level and is useful for hotel chains that standardize their interface configuration, as one export file can be used as a standard import file for all future properties that are joining the system. Setup the first interface fully with all defaults, conversion codes, parameters and profile matching details. Then you can export this configuration as a standard script file and import it again later if needed.
As it is possible that the new interface you are configuring might not have the exact same conversions, it is suggested that you go through the new interface after the import has completed, and edit or delete information as required.
Export/Import screen in Thick Client environment will not have the Upload File button
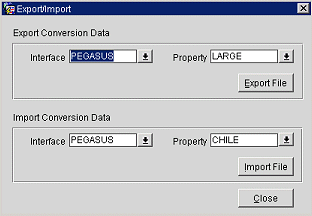
Example: Export/import screen in Thin Client environment

The upper part of the Export/Import screen is called the Export Conversion Data.
Interface. You can select a configured OXI interface. To open the list of values, select the down arrow  next to this field.
Resort. Shows a list of values with all OPERA properties that have been configured for this interface. This field is automatically populated when the interface was selected first.
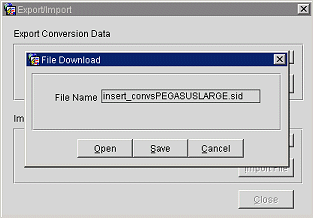
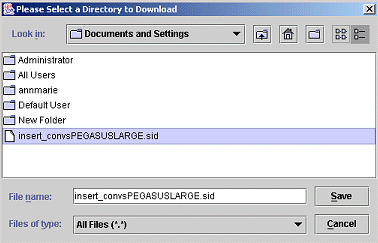
Export File. Select this button to create a script file with all configuration data of the interface you have selected. The configuration data will contain the communication settings, defaults, conversion codes, parameter settings and profile matching settings of this interface. Store the created file in a local or network directory.
Interface. You can select a configured global OXI_HUB interface. To open the list of values, select the down arrow  next to this field.
Resort. Shows a list of values with all OPERA properties that have been configured for this interface. This field is automatically populated when the interface was selected first.
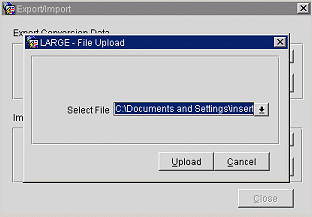
Upload.. This is visible when the interface is run in thin client. Select this button to upload the locally saved configuration file to the Thin Client server. You will be prompted with a directory dialog from where you can find your saved configuration file.
Import File. Select this button to retrieve the script file with all configuration data of the exporting interface you want to import from. The configuration data will contain the communication settings, defaults, conversion codes, parameter settings, and profile matching settings of the exporting interface. You will be prompted with a directory layout from where you can pick your import file.
Example: Export/Import File Download screen in Thin Client environment

Note: Write down where you save the file for later use.
Example: Export/Import screen in Thin Client environment

Example: Export/Import File Upload screen in Thin Client environment

Example: Export/Import of successful Upload Status screen in Thin Client environment

See Also